

In order to launch a crowdfunding campaign on a platform like Kickstarter, one key element is at the center of it all: a prototype.
A prototype is a preliminary model of your product offering from which all of your reward tiers will be based upon once you move into fulfillment and manufacturing.
Without a functioning prototype, you can’t launch a project on Kickstarter. And further, you won’t be able to procure the marketing materials for a successful fundraise — so it’s extremely important that you understand the process.
In this article, we’re taking you through
- Kickstarter Rules on Prototypes
- A step-by-step explanation for how to get your prototype made
- When you can start marketing your prototype
Are you ready to bring your new invention from an idea into reality? Let’s show you how to do it.
Kickstarter Prototype Rules
The Kickstarter platform aims to satisfy its backer community. With this in mind, they put requirements in place to ensure that what customers see on a campaign page very closely resembles what arrives on their doorstep.

Here are the rules for prototypes on Kickstarter:
- Prototype demonstration should reflect a product’s current state
- Creators cannot include CGI or special effects to demonstrate functionality that does not yet exist
- If a project requires software/hardware integration, creators must show that functionality clearly, or disclose that it has not yet been developed
Basically, this all means that you must prove that your prototype actually works before shipping it out to backers. If you fail to do this, your campaign is in jeopardy of being shut down by the Kickstarter team.
How to Get Your Prototype Made
Alright, so we’ve laid out the rules for Kickstarter prototyping. Pretty simple, right? Now, for the hard part: actually bringing this thing to life.
Let’s break down the process step-by-step.
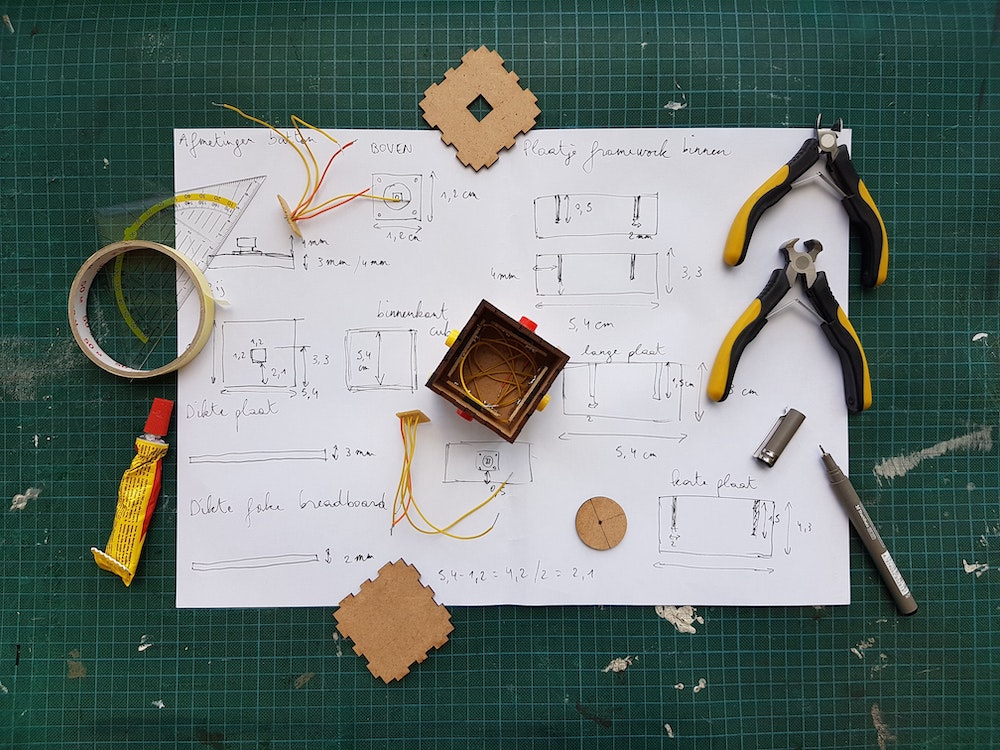
Step 1: Sketch it Out
Your product idea has been rattling around in your brain for a while now. And finally, it’s time to get this idea down on paper.
Even if you’re not much of an artist: don’t worry about it. This is a time for brainstorming through what’s called a concept sketch, which can be thought of as a rough rendering of what this thing is going to look like.

In most cases, you should make several sketches from multiple angles to gain a thorough grasp of what your product is going to look like.
Feel free to use labels to identify key components and functionalities. Start asking yourself questions such as:
- How big is this going to be?
- What types of materials might I use?
- What challenges might I face?
Once you’ve got the sketch where you like it, it’s time to start digitally rendering!
Step 2: Create a Design File
While you can bring basic sketches to design firms to complete your prototype, you’ll be way ahead of the game if you use a software tool before sending it out.
There are tons of them out there, here are some that we recommend:
Full disclosure: sometimes these programs can be difficult to operate if you don’t have any experience using them.
To solve this problem, you could consider hiring a freelancer to create the design file for you. In most cases, they will be relatively inexpensive and provide you with a professional look that is ready to move on to the next stage.
Step 3: Get Your First Prototype
Here’s the deal: your prototype isn’t going to come out perfect on the first try. This is a process and one that takes patience through trial and error.

Therefore, you should start by creating a quick and cheap prototype through 3D printing through one of these services:
- Shapeways: Upload your design file directly and choose the materials that will be needed to produce your prototype. The platform provides instant pricing, and you’ll also get a good idea of what the finished product will look like.
- Sculpteo: Will render your 3D printed creation and ship it directly to your door. This will allow you to have the product in your hands and get a feel for what the finished product will be.
- I.Materialise: Same deal as Shapeways and Sculpteo — upload your 3D design file, specify SKUs, and you’re ready to rock!
Once you’ve got the 3D printed prototype where you like it, you can make contact with an engineer or professional prototype designer to get the real deal put together. This is an extremely exciting moment!
Step 4: Get a Manufacturer
When it comes to manufacturing, you’ll want to get quotes and estimates from several companies.
It’s important to strike a balance between quality and cost-effectiveness. You don’t want to price yourself out of the market, but you also need to ensure that the manufacturer is reputable and has a strong track record of making great products.

Luckily, we’ve put together a list of the 7 best companies for Kickstarter manufacturing, so make sure to check that out to get started on your search.
Prototypes and Marketing
Running a Kickstarter campaign starts long before you go live. This is a stage we call pre-launch, where you build up a crowd of backers that are primed to convert on Day 1 to help you get the all-important initial funding dump.
That being said, you’ll want to start marketing your product and collecting emails at least 10 weeks in advance of your campaign.
But what if your prototype isn’t quite ready yet? Well, you have a couple of options:
- Push back the launch date: You won’t want to rush into this. Take the time to get the product exactly where it needs to be, then start marketing with it.
- Use a close prototype: If your prototype only has a couple of minor alterations still to undergo, you can start marketing with a prototype that will closely resemble the Kickstarter offering. As long as you don’t radically shift design or leave out key functionality that you’ve promised, this route is acceptable.
Key Takeaways
We hope that this article was helpful for you as you begin to map out your prototyping strategy for a Kickstarter launch.
Let us be the first to say it: Congratulations! You’re about to take the first step to make your entrepreneurial dreams come true — this is a super exciting time.
Keep in mind, however, that prototyping is just the tip of the iceberg. There is a lot that goes into running a successful crowdfunding campaign, and you’ve got to stay steadfast in your research. Let us help you out with these materials:
- Book: The Kickstarter Launch Formula
- Founder of CrowdCrux Salvador Briggman’s Youtube Channel
- The Crowdfunding Demystified Podcast
- Bookmark the CrowdCrux blog (you’re here right now!)
- The CrowdCrux weekly newsletter
Want to join a community of creators and get expert advice and insights from the CrowdCrux team? Request to join our MightyNetworks group today. We’ll see you there!
Good luck with your journey. And remember to use CrowdCrux as your trusted resource as you move through the process!


